Add a Report
Follow the section bellow to learn to add a report step by step.
Adding a Report
To add a report, follow these steps:
Step 1
Go to the Control Center then open the context menu at the right corner of the screen.

Step 2
The first screen will ask you to set a Report Name, Type and to which zones will it be associated to.

Once the Report is created, the user must add the lines.
Step 3
On “SERIES”, click “ADD NEW LINE”.

Step 4
Add the line parameters:

- Line Label - Name that will be displayed in the control center.
- Line Color - To choose the line color.
- Line Type - To choose the line type (Options Bellow):
- Line.
- Area.
- Column.
- Scatter.
- Data Type - To choose the data type (Options Bellow):
- Measurement.
- Minimum.
- Maximum.
- Cost.
- Static.
- Manual Device.
- Event.
- Unit - To choose the unit of the devices to select.
- Devices - To choose one or multiple devices.
Step 5
Make sure all the parameters are set and click “Save”.
Step 6
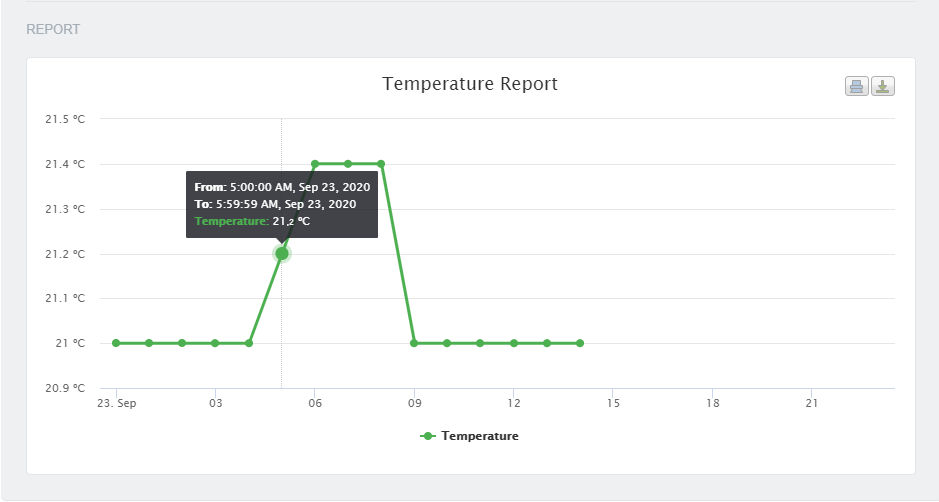
As soon as the creation of the report is complete, the user can start to browse and analyze the data.
The report can now be added to the dashboard as a widget.