Welcome Guide
Welcome to the Webtool “Welcome Guide”. This guide has all the information step by step so that a user can use this tool independently. It is divided into parts from registration to data visualization.
Table of contents
- Registering
- Cloud Application Login
- Link to open Webtool
- Creating a new Gateway
- Adding a Field Device
- Adding an Application Binding
- Deploy
- Data in Cloud Application
Register on the platform
Step 1
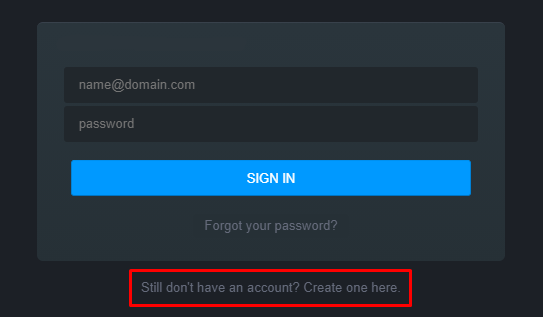
Click on the registration link on the login page.
Step 2
Registration Page:
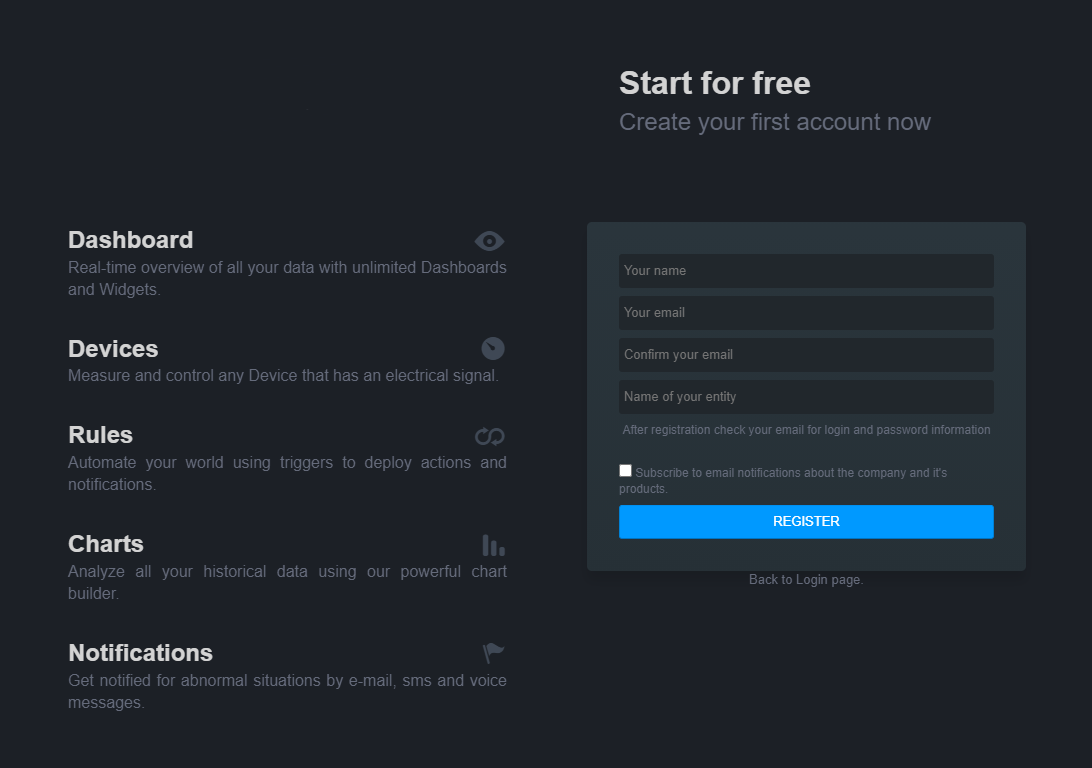
Fill in the fields with registration information:
- Name - User Name.
- Email - User email.
- Entity name - Name of the entity to be created.
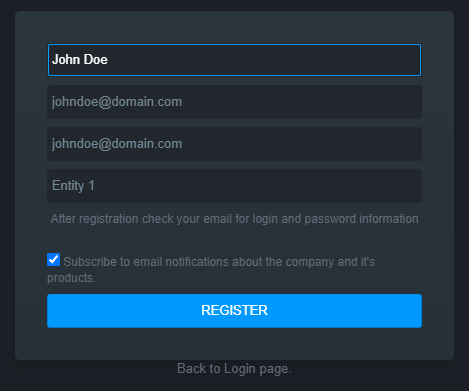
Click “REGISTER” after adding all the information. With the registration a new entity and a new system will be created automatically.
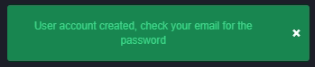
The new password will be generated and sent to the email that was entered in the registration.
Cloud Application Login
Step 1
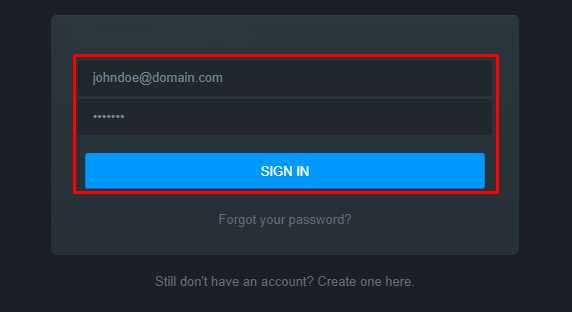
Check the password on your email and log in to your new account.
Link to open Webtool
Step 1
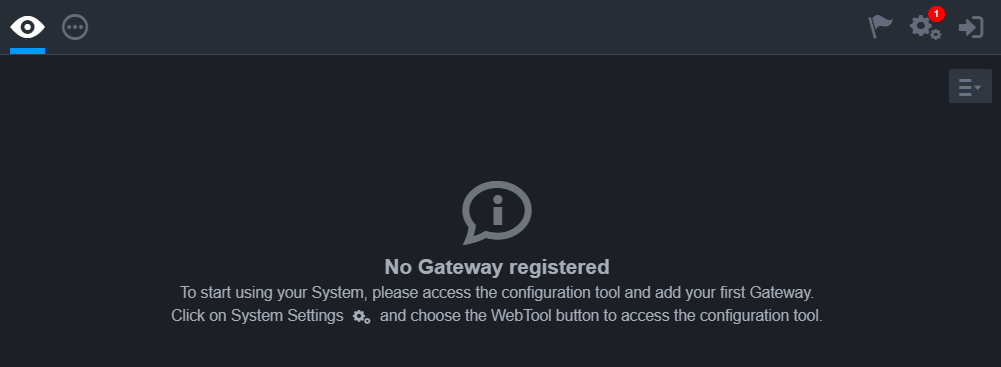
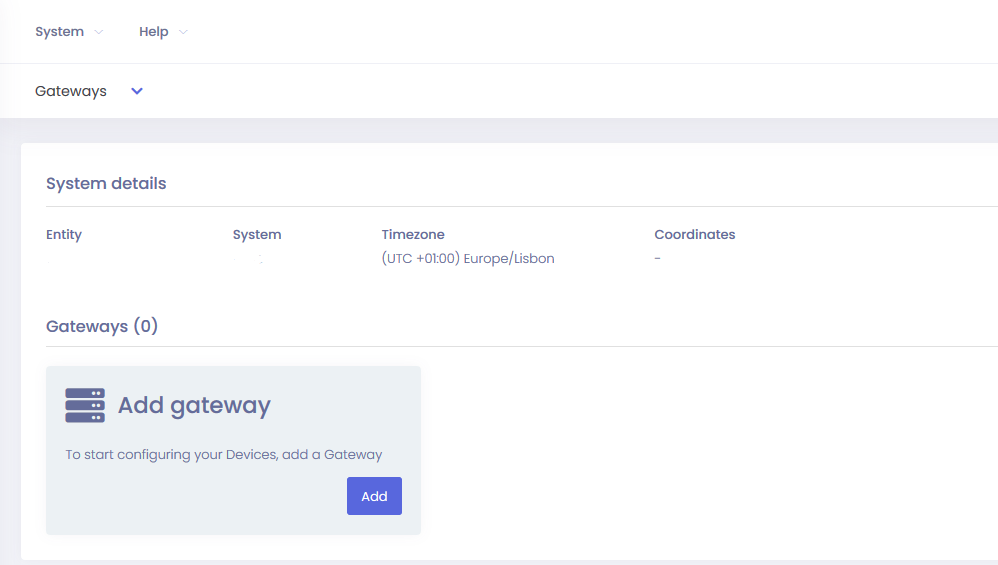
After login, the “Dashboards” page will have a message saying that there are no registered gateways and an explanation of how to open the configuration tool..
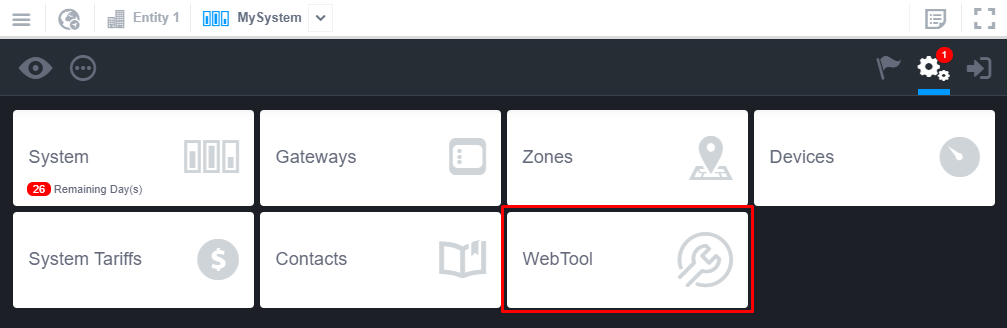
Step 2
Click on System Settings and choose the “Webtool” button to open the Webtool. The login is automatic because its linked to your account.
The login credentials are the same as in the Cloud Application.
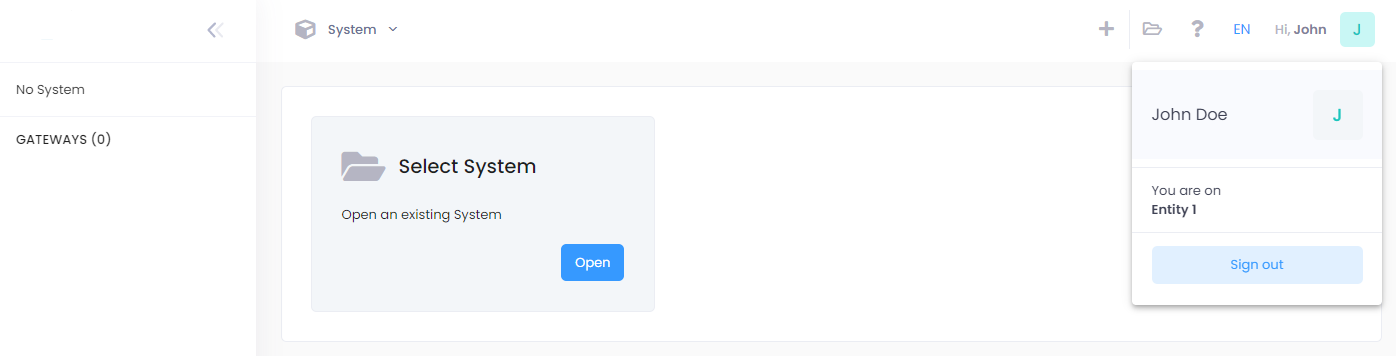
Webtool Home Page
Creating a new Gateway
Since the first system is automatically created, the next step is to create a gateway. In this case we will use a Linux device to exemplify.
Step 1
To add a new Gateway click on the add button. The button is identified on the image below.
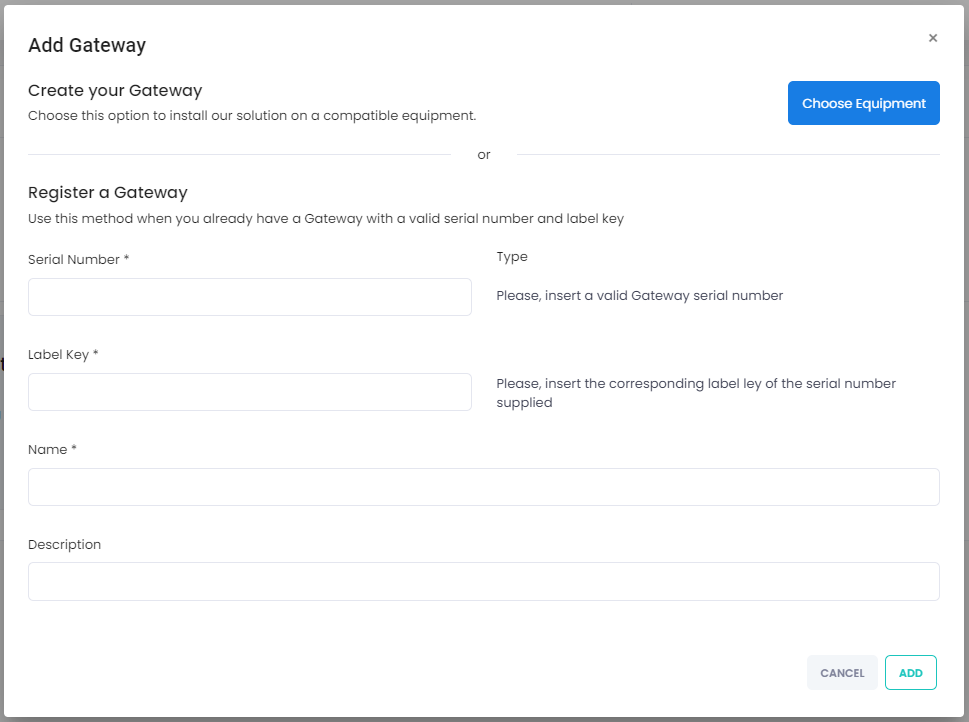
Step 2
Click on “Choose an equipment”.
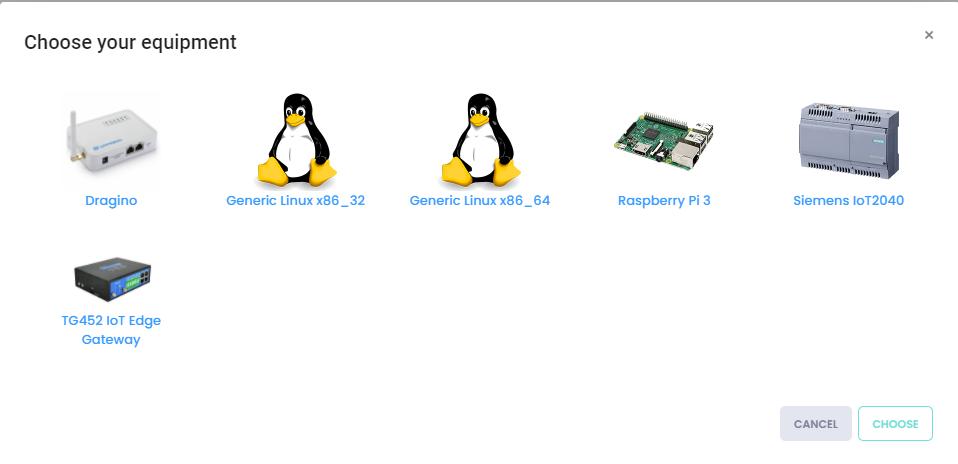
Step 3
Select the model of the equipment. Here we will choose Generic Linux 64.
Step 4
Copy the command and run it on the linux equipment.
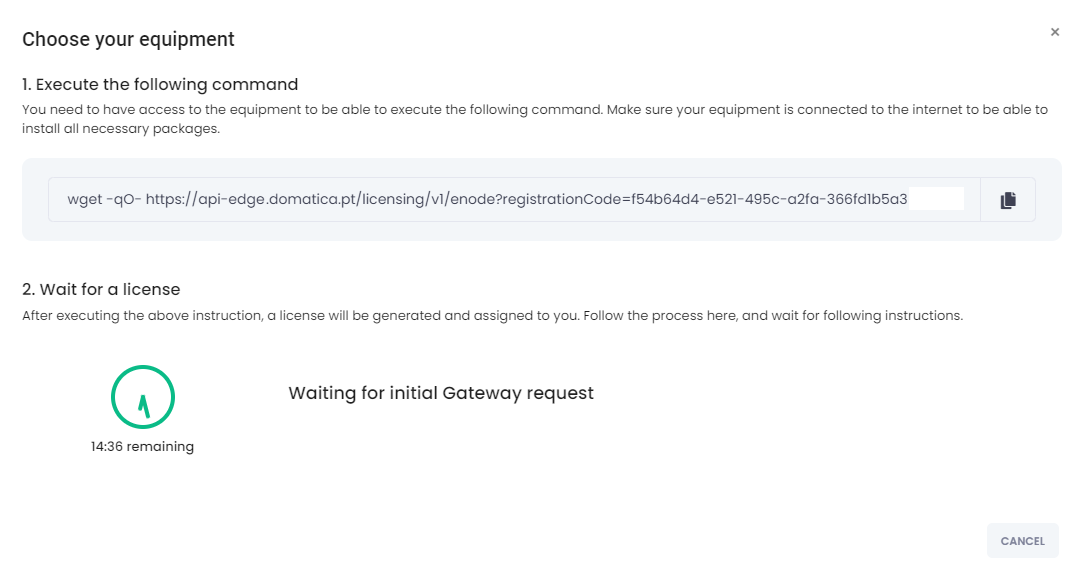
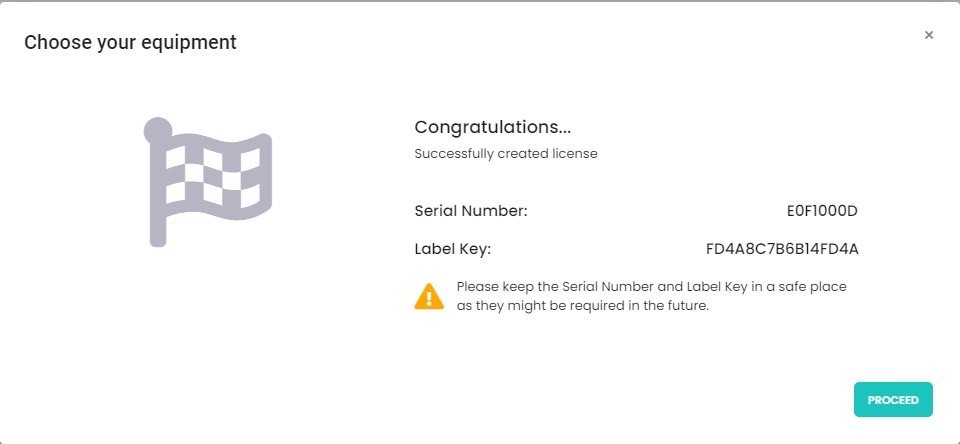
Step 5
The serial number and label key have been generated and it will be used automatically to create the new gateway.
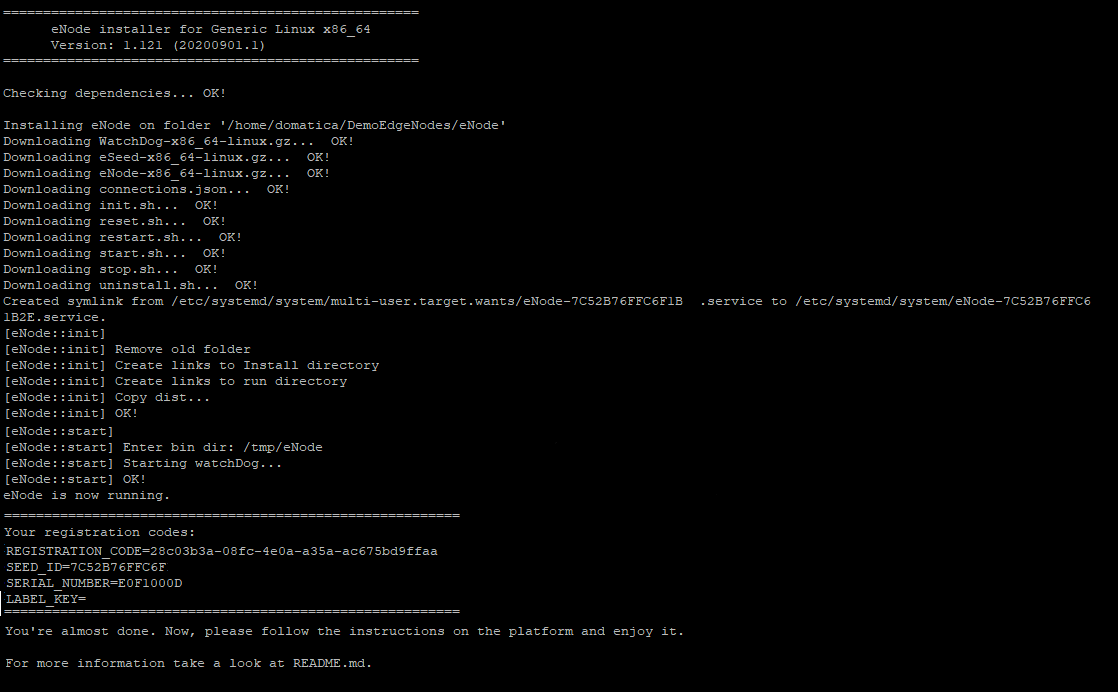
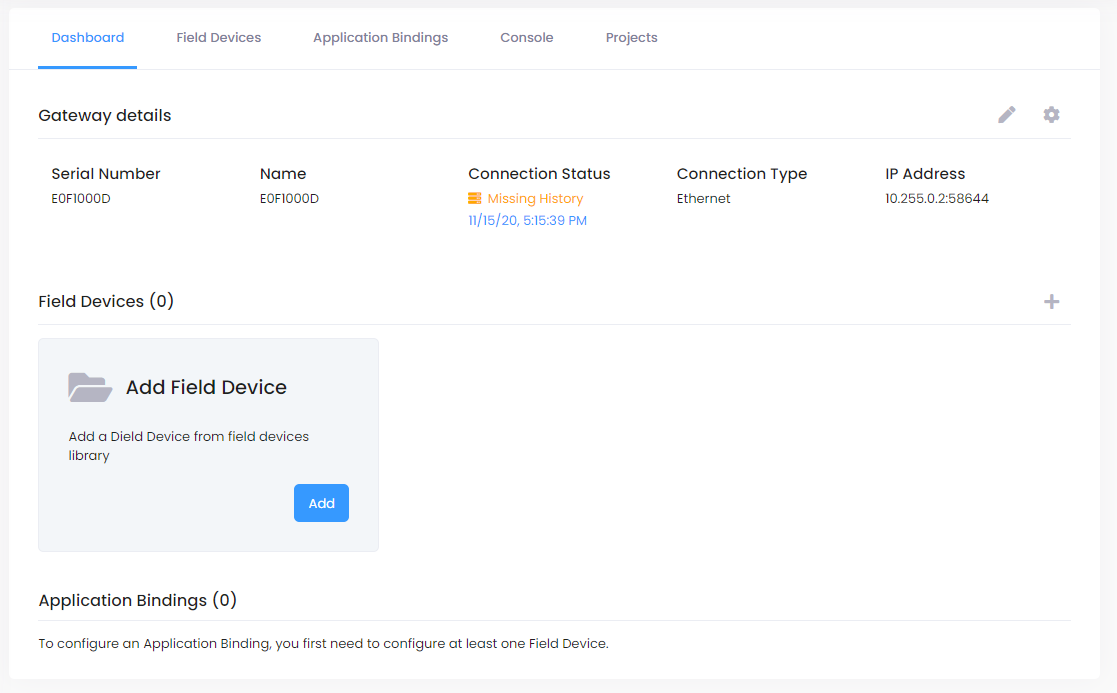
Wait until the information appears and save it. Click “PROCEED” to finish the operation.
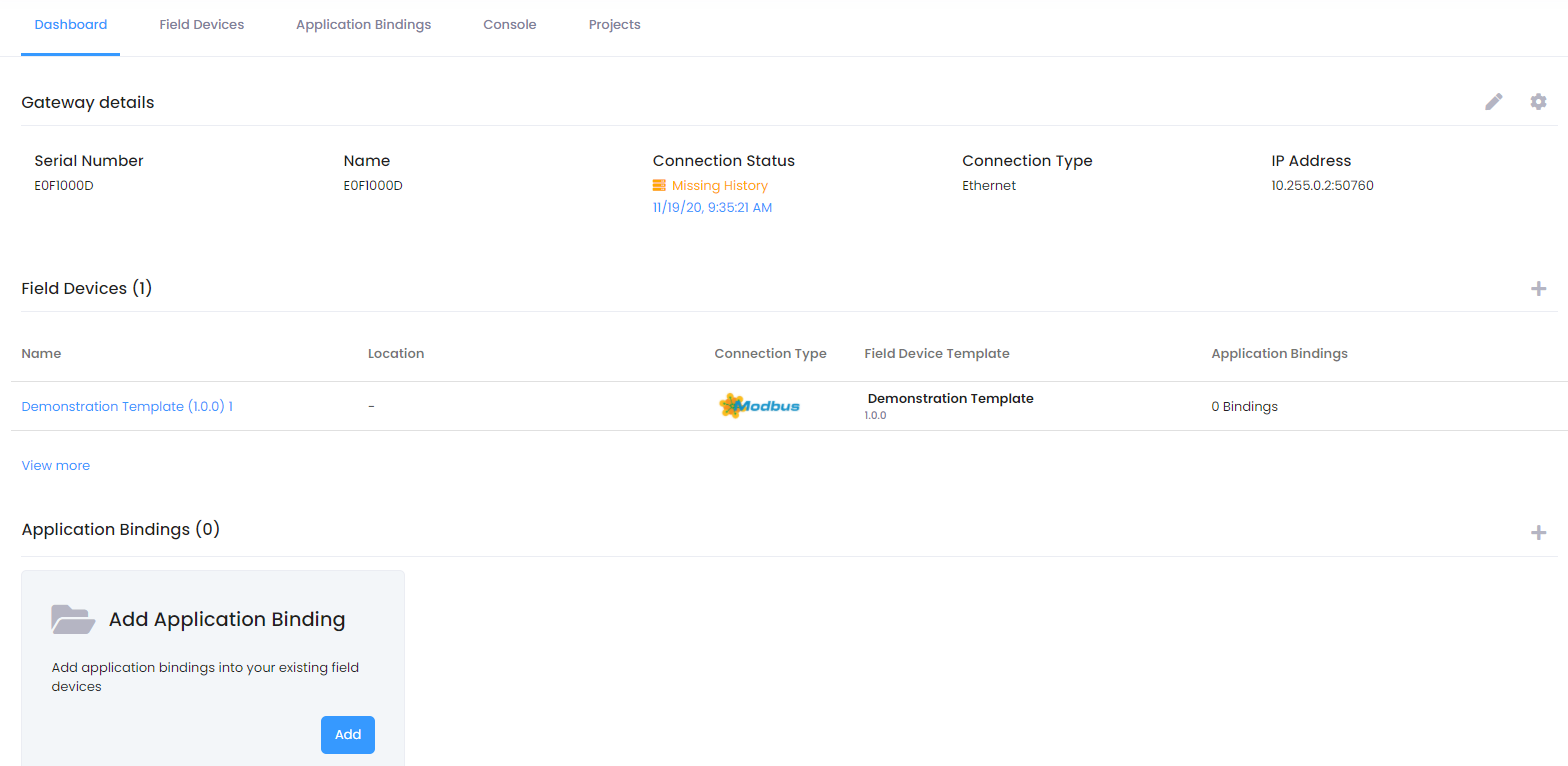
After click “PROCEED” the Dashboard page will open
Adding a Field Device
This step shows how to add the first Field Device, in this case we will use a created Field device that will allow data visualization.
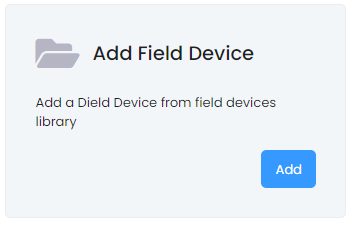
Step 1
Click on “Add” to start the Field Device creation.
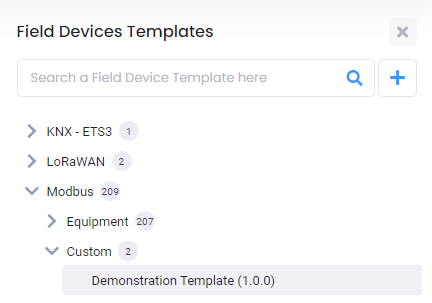
Step 2
Select a template from the list. On this tutorial we will use the “Demonstration Template (1.0.0)”.
Modbus >> Custom >> Demonstration Template (1.0.0)
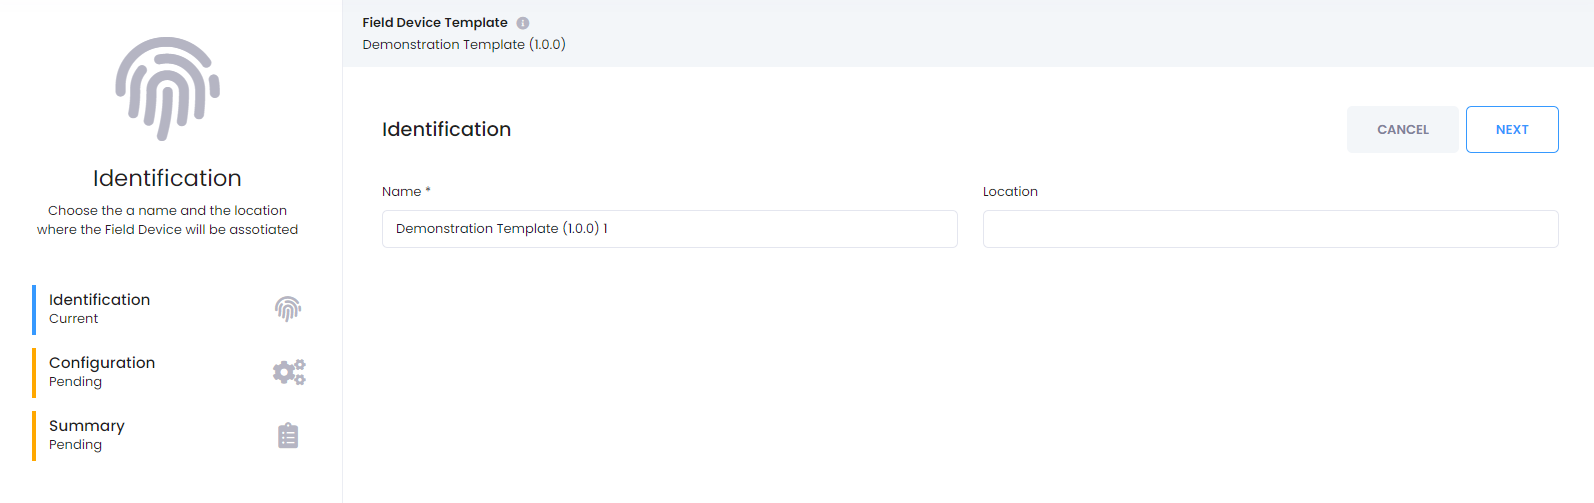
Step 3
Insert the name and location where the Field Device is installed.
Step 4
This section is to change the Field Device parameters, on this case, leave the settings as they are. Click “NEXT”.
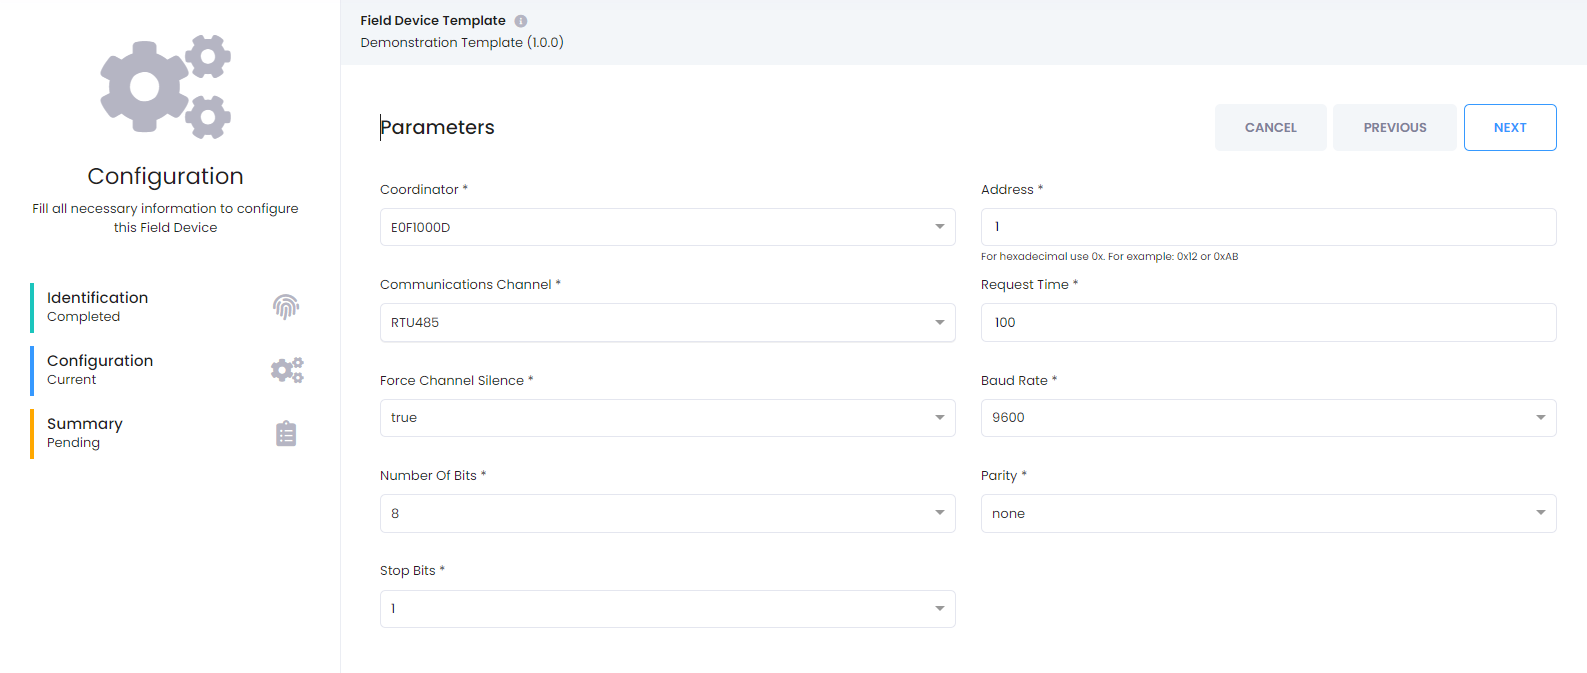
The configuration section will depend on the type of device and the parameters that this device has.
Step 5
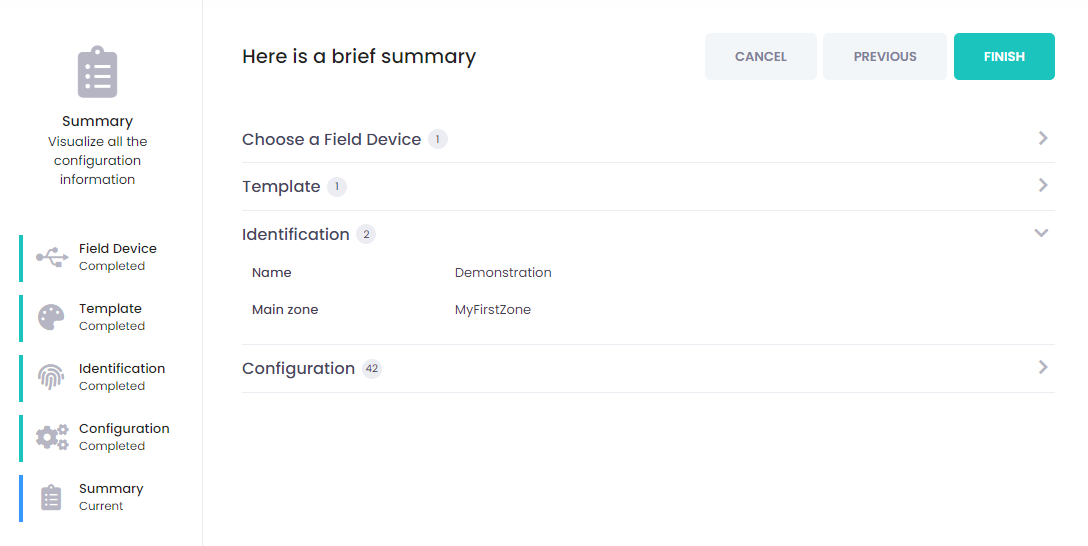
Confirm the summary and finish the operation.
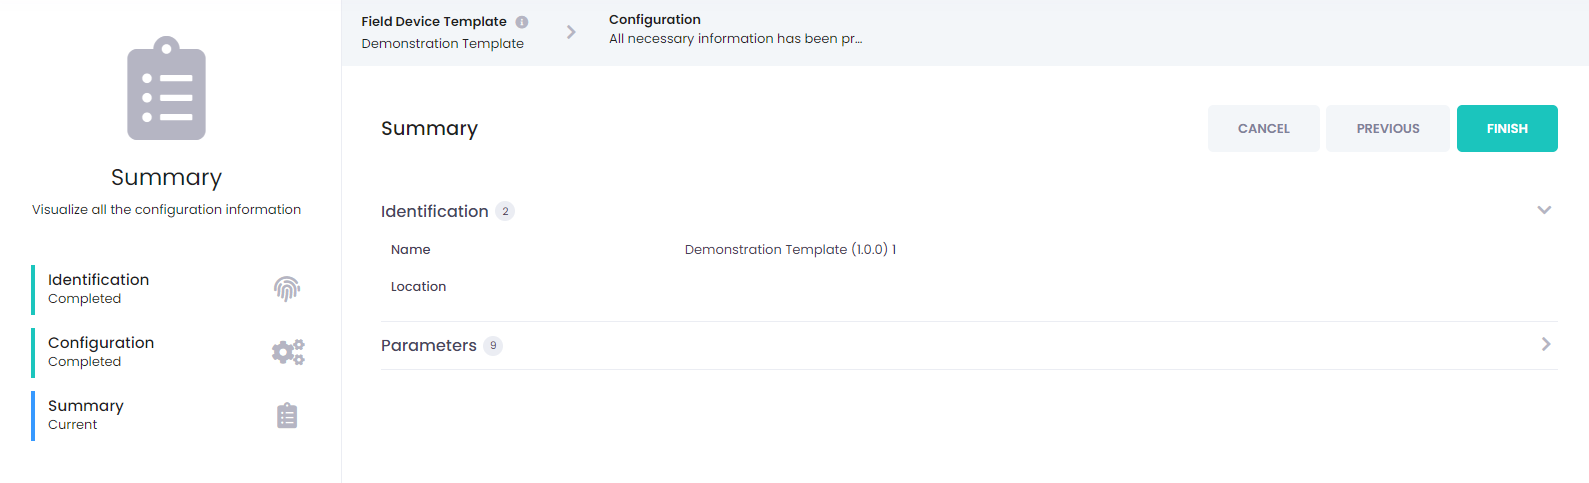
After click “FINISH” the Dashboard page will open
Adding an Application Binding
The Application Bindings are the connection between the Field Devices and the Application, with or without data processing. One Application Binding is directly connected to a Field Device , but for each Field Device there can be several Application Binding , with different Application Objects or different data processing.
Step 1
Click on “Add” to start the Application Binding creation.

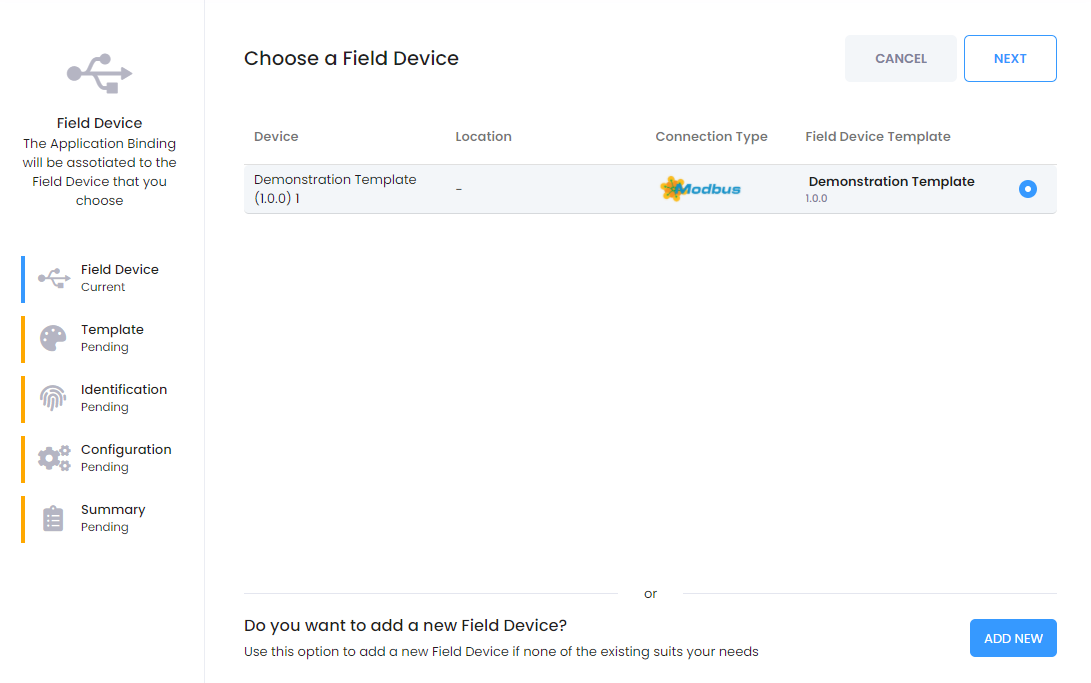
Step 2
Choose the Field Device for which you want to create the Application Binding.
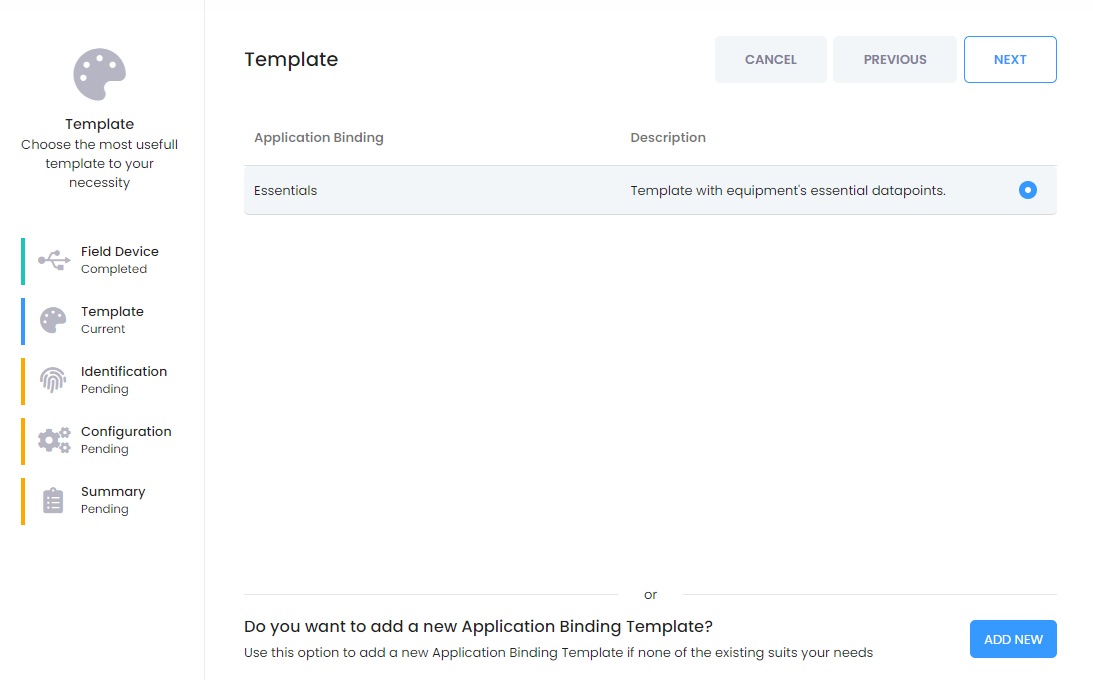
Step 3
Now select the template to use. A device can have several templates available to choose from, but you can only select one for each Application Binding creation.
Step 4
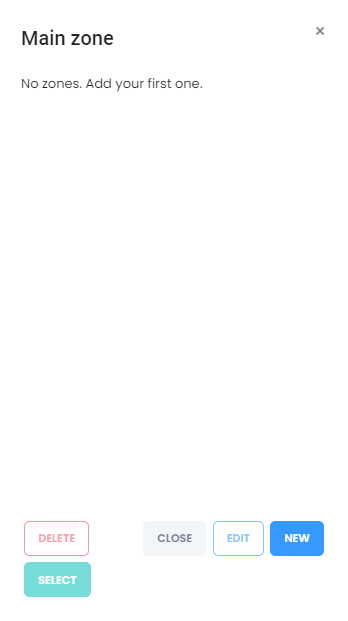
Choose the name and click the tool to add the first zone of this system.
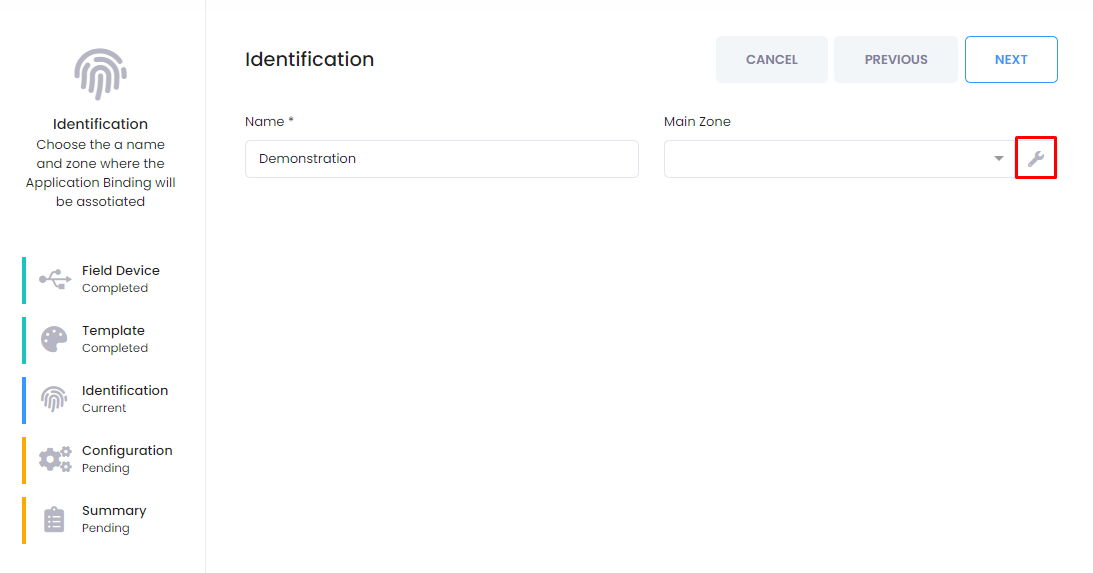
The Zone window will open, click “NEW” to add a new Zone.
Step 5
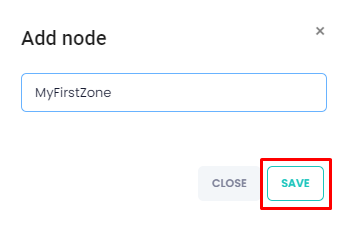
Give a new name to the new Zone and click “SAVE”.
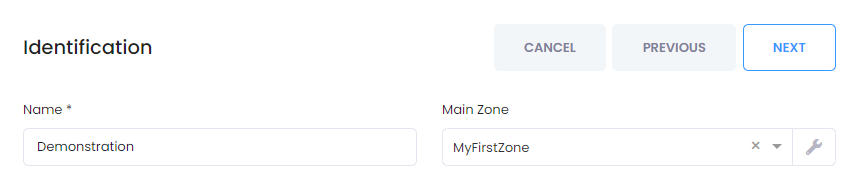
After save the Zone name, select it. The new Application Binding has a defined zone. Now click “NEXT”.
Step 6
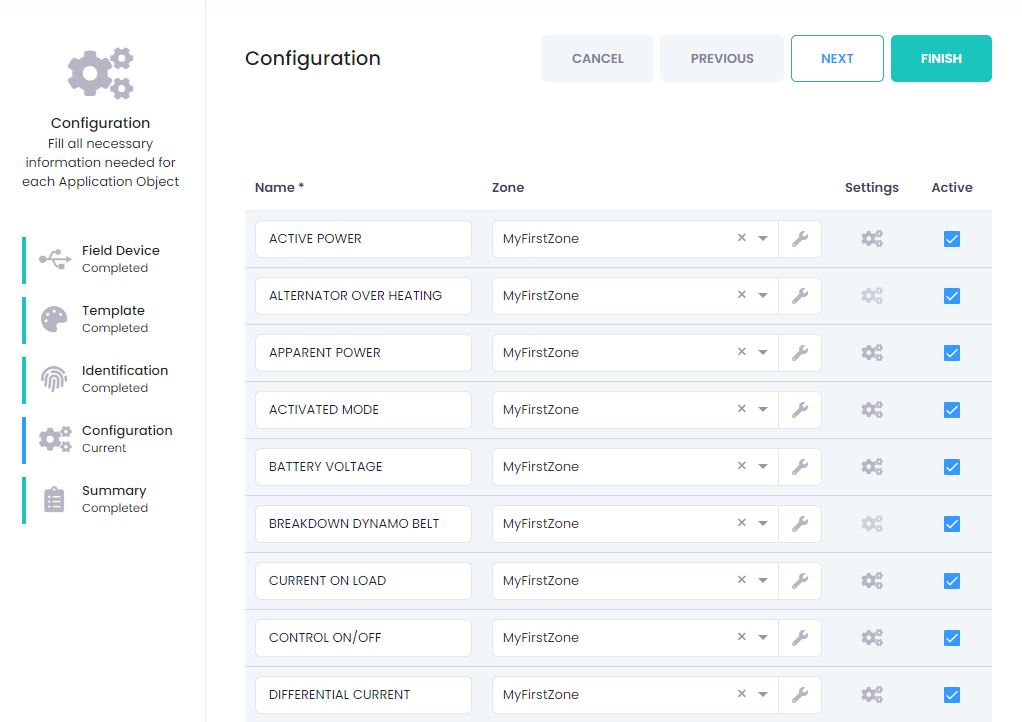
In the configuration we have the list of Application Objects for this binding, as they will be seen in the Application, and we can change their names, zone and settings when available.
Step 7
Confirm the summary and finish the operation.
Deploy
Step 1
Before any action the user should save his project.
Step 2
Click on the “Deploy” button.

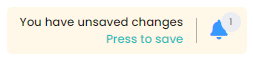
If there are any changes that have not been deployed, a warning will appear in the upper right corner.

Step 3
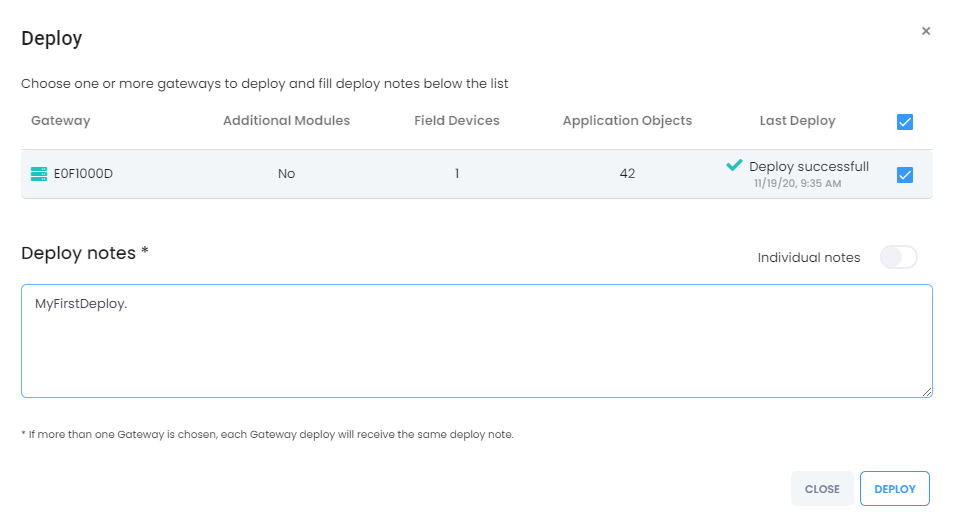
Select the gateways that you want to deploy and click “Deploy”.
In this step is mandatory to add Deloy notes, so that later on, it is possible to track changes made on each deploy.
Step 4
Wait until the deploy was finished. The progress is visible on the progress bar.

A Notification will appear after the deploy was completed
Data in Cloud Application
Step 1
Click on the button to return to the Cloud Application.
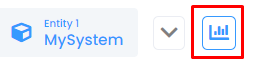
Step 2
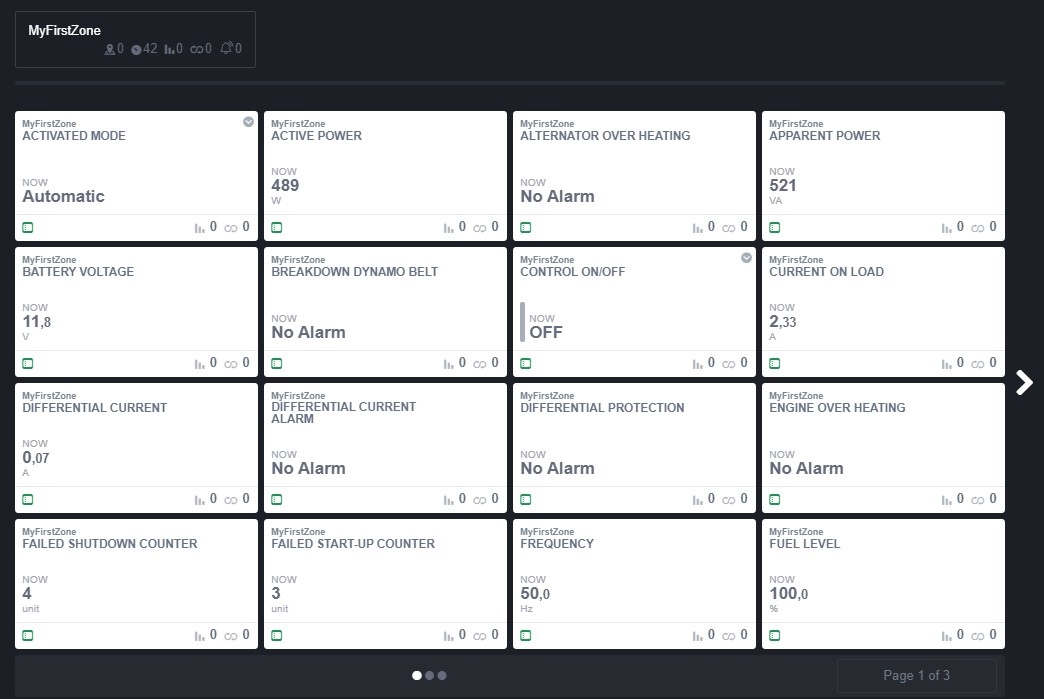
You will be redirected to the Control Center page. On this page we will see all the devices added to Webtool.
Browse the pages and check all devices and their values.
Congratulations, you have been able to reach the end of our Welcome Guide, and you have done the following:
- Created one Entity;
- Created one System;
- Added one Gateway by installing the EdgeNode in a Linux equipment;
- Added a Field Device to your System;
- Added an Application Binding to your Field Device;
- Programed your gateway with the deploy
- Visualizeed real-time and historical data in the CLoud Application.
Now you are able to create your own projects using this WebTool.