Other Widgets
To add an other type of widget to your dashboard, follow these steps:
Step 1
Login into your account.
Step 2
Select the system.

Step 3
Click on “Add Widget”.

Step 4
Now select “Others” on the widget category and also the information type.
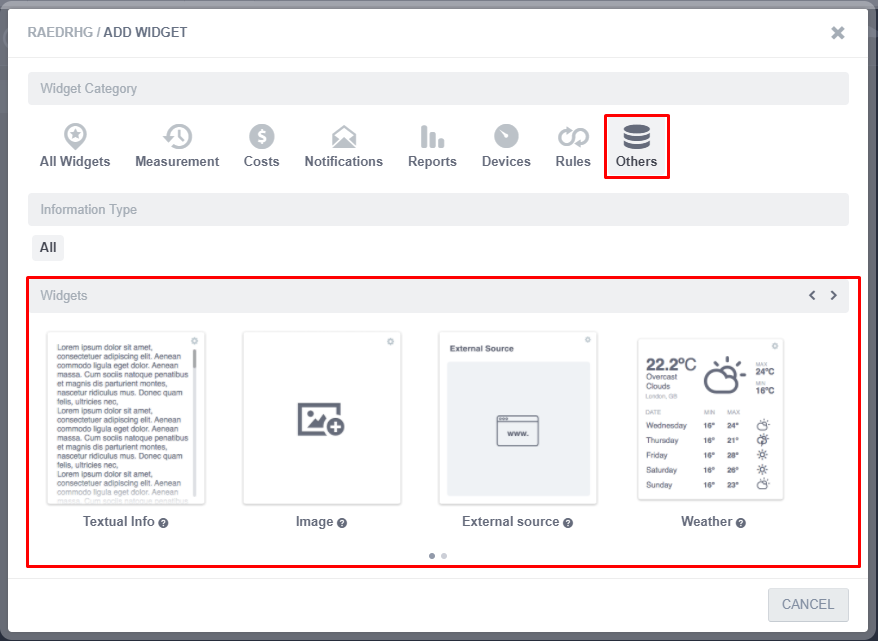
Step 5
Now fill in the fields with all the widget parameters.
The parameters will be different depending on the selected widget.
Step 6
Click “Add”.
To know more about a specific widget creation read the section bellow.
Textual Info
First step:
- Here the user must choose the widget size.

Second step:
- Text - To insert the text to appear on the widget.
- Link Navigation Options - The user can create links to Devices, Reports, Rules, Zones, Dashboards.

Image
First step:
- Here the user must choose the widget size.

Second step:
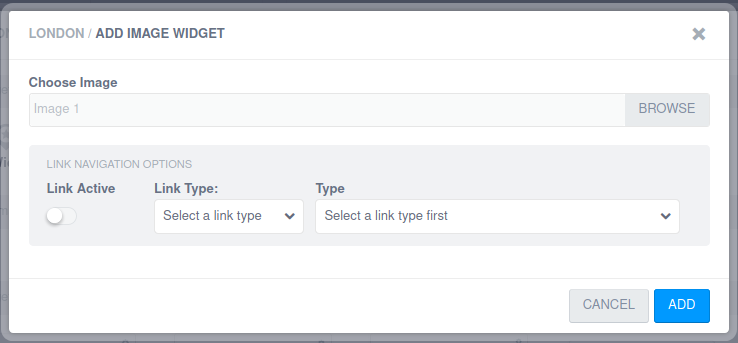
- Image - To browse or upload the image to appear on the widget.
- Link Navigation Options - The user can create links to Devices, Reports, Rules, Zones, Dashboards.
External source
First step:
- Here the user must choose the widget size.

Second step:
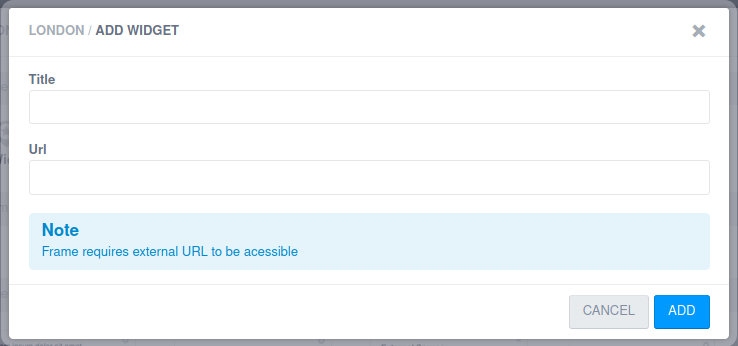
- Title - Widget brief description shown in the Widget body.
- URL - The link of the desired page to appear.
Weather
First step:
- Here the user must choose the widget size.

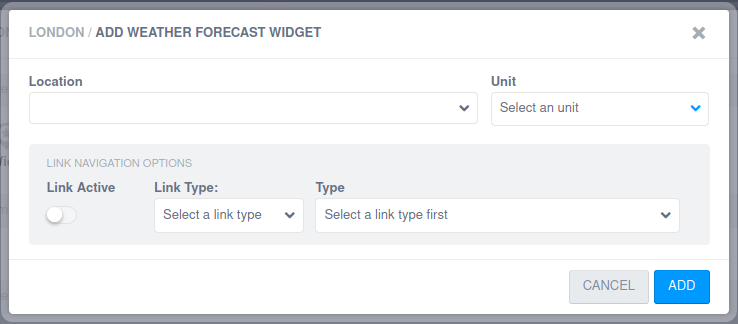
Second step:
- Location - Desired location to appear on the widget.
- Unit (Temperature Unit) - The unit has two options:
- Celsius.
- Fahrenheit.
- Link Navigation Options - The user can create links to Devices, Reports, Rules, Zones, Dashboards.
System Location
- This widget has no parameters, just click “Add”.
- The widget will assume the location previously defined for the system.

System Clock
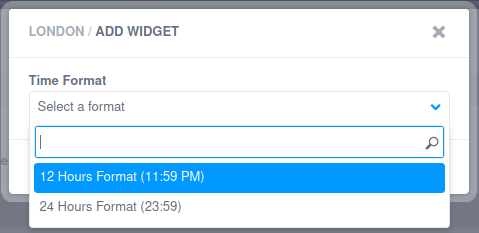
- Time Format - Selection of how the clock will be presented.
- 12 Hour Format.
- 24 Hours Format.
